You want to print optical lenses for your microscope? Forget it for now. Polycarbonate (PC) is indeed the material of choice for high-quality optics, but most makers struggle with the basics. The problem lies not just in the material selection, but in the entire printing chain — from hardware to post-processing to the reality that even well-printed lenses often don't deliver the expected optical quality.
The Problem in a Nutshell
Polycarbonate sounds ideal for optical applications: glass transition temperature at 150°C, tensile strength of 70-75 MPa, and above all, the optical clarity that effectively transmits light. In practice, however, you face three main issues: First, PC warps extremely — even small lenses can deform so much that they become unusable. Second, PC is highly hygroscopic, meaning it absorbs moisture like a sponge, leading to bubble formation and cloudy surfaces. Third, PC requires temperatures between 260-310°C, which overwhelms most standard hotends and necessitates a closed chamber with at least 60°C ambient temperature.
But the most frustrating problem is layer adhesion. PC tends to delaminate between layers, especially with complex geometries like lenses with varying wall thicknesses. You might achieve a clear surface, but the lens will break apart at the first temperature change.
Root Cause Analysis
The warping issue with PC arises from its high thermal stability of over 115°C. Paradoxically, this is both a curse and a blessing: the material is thermally stable but shrinks extremely unevenly as it cools. Without an actively heated chamber, temperature gradients develop that can lead to stress cracks, particularly in thin lens walls.
The hygroscopic nature of PC is an underestimated problem. After just a few hours in the air, the filament absorbs enough moisture to hiss and form microbubbles during printing. These bubbles are annoying in regular parts, but they render optical lenses completely unusable. Drying at 70-80°C for 6-8 hours is not optional; it's absolutely critical.
The third factor is melt viscosity. PC flows differently at the required temperatures of 260-310°C compared to PLA or PETG. The high viscosity means that layers don't bond properly if the print speed is too high or the nozzle temperature is too low. For standard PC, you should start at 265°C and gradually increase until the layer adhesion is satisfactory.
The Fix — Step by Step
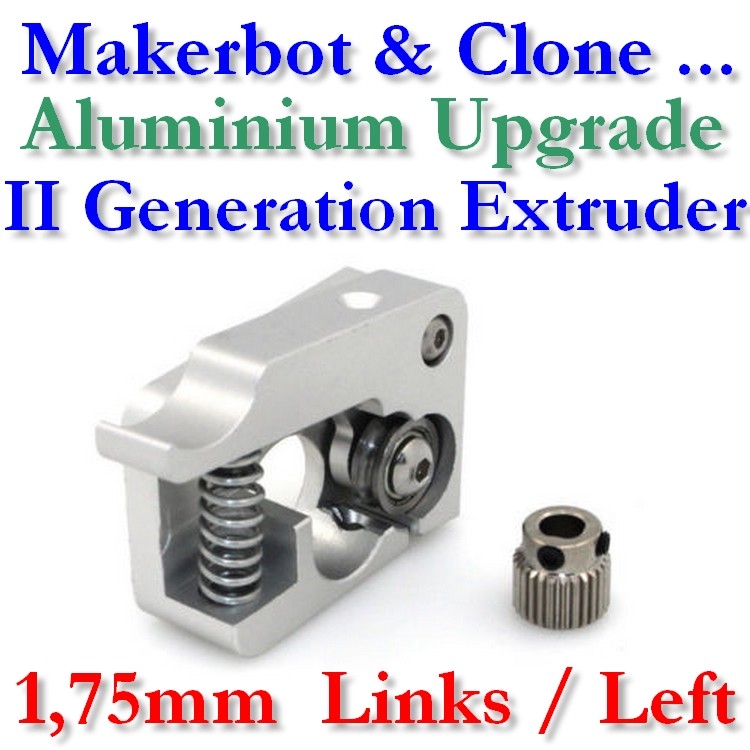
First, the hardware: You absolutely need an all-metal hotend that can reach at least 250°C, preferably 270°C for safety margins. A closed chamber is non-negotiable — chamber temperatures of 70-100°C are required for clean lenses. Set the build plate temperature to 105°C at least 10-15 minutes before starting the print to ensure the chamber heats up properly.
Material preparation is crucial: Dry the PC filament at 75°C for at least 6 hours. Use a drying box during printing if possible. Start the nozzle temperature at 250-270°C and gradually increase until the layers bond well. Print speed should be between 30-60 mm/s — slower is definitely better for PC.
Set the retraction to 1-3 mm at 20-40 mm/s. Important: Turn off cooling fans completely. Any cooling leads to warping and poor layer adhesion. Activate coasting in your slicer settings to reduce stringing.
For bed adhesion, use textured PEI, and if you encounter issues, add Magigoo PC. Larger nozzle diameters help with layer adhesion — 0.6 mm or 0.8 mm are often better than the standard 0.4 mm.
After printing, comes annealing: Immediately after printing, place it in the oven at 90°C for 2 hours. The part must not cool down before it is annealed. This step is critical for stress distribution and prevents later cracks.
Prevention
The best prevention is a stable printing environment. Invest in an actively heated chamber, not just a closed printer. Temperature consistency throughout the entire print area determines success or failure.
Store PC filament in airtight containers with desiccant. Once opened, it should be exposed to room air for no more than a few hours. A filament dryer or drying box during printing is standard equipment, not a luxury.
Plan your lens geometry to be print-friendly from the start. Uniform wall thicknesses, avoidable overhangs, and an orientation that minimizes warping. Often, it's better to print the lens in two halves and glue them together later than to attempt a complex geometry in one go.
Pay attention to maintenance intervals: PC is more abrasive than standard filaments. Regularly check your nozzle for wear, especially if you print a lot of PC. A worn nozzle leads to uneven flow and poor surface quality.
When It's NOT This Problem
If your PC prints generally work but the optical quality isn't right, the problem often doesn't lie in the print parameters. Layer lines are a fundamental issue of the FDM process for optical applications. Even well-printed PC lenses have surface roughness that makes them unsuitable for precise optics.
UV sensitivity is another factor: PC degrades with prolonged sun exposure. If your lenses become cloudy after a few months, it's not the print, but the material itself. For UV-exposed applications, you need UV-stabilized PC variants or coatings.
Chemical resistance can be misleading: While PC is resistant to oils, solvents, and weak acids, it's not resistant to all cleaning agents. If your lenses are damaged after cleaning, it might have been the wrong solvent, not the print.
When cracks appear along the layer lines after months of use, it's often not the printing process that's to blame, but a lack of stress-relief annealing or excessive mechanical stress. PC has a tensile strength of 70-75 MPa, but only if the layers are well bonded.