The MMU3 Firmware 3.0.0: Multicolor Printing Without Illusions
The MMU3 Firmware 3.0.0 has taken multicolor printing out of beta. What used to be a test of patience now runs a bit smoother — but only if you make the right settings and understand the physics behind the color changes.
What Really Happens During a Color Change
The M600 command is more than just a simple pause. When PrusaSlicer incorporates this G-code into your print, a complex choreography unfolds: the printer moves to the park position, completely unloads the current filament from the Bowden system, waits for your confirmation, and then loads the new material. The problem lies with the so-called "Purge" — the nozzle must first completely flush out the old material before clean colors can come through.
Here’s the catch: after the color change, the print head returns to the last position of the previous layer and "touches" the object briefly. This often leaves unsightly spots or discolorations exactly where they don't belong. The firmware does this to ensure that the nozzle is correctly positioned again — but it’s poison for your print result.
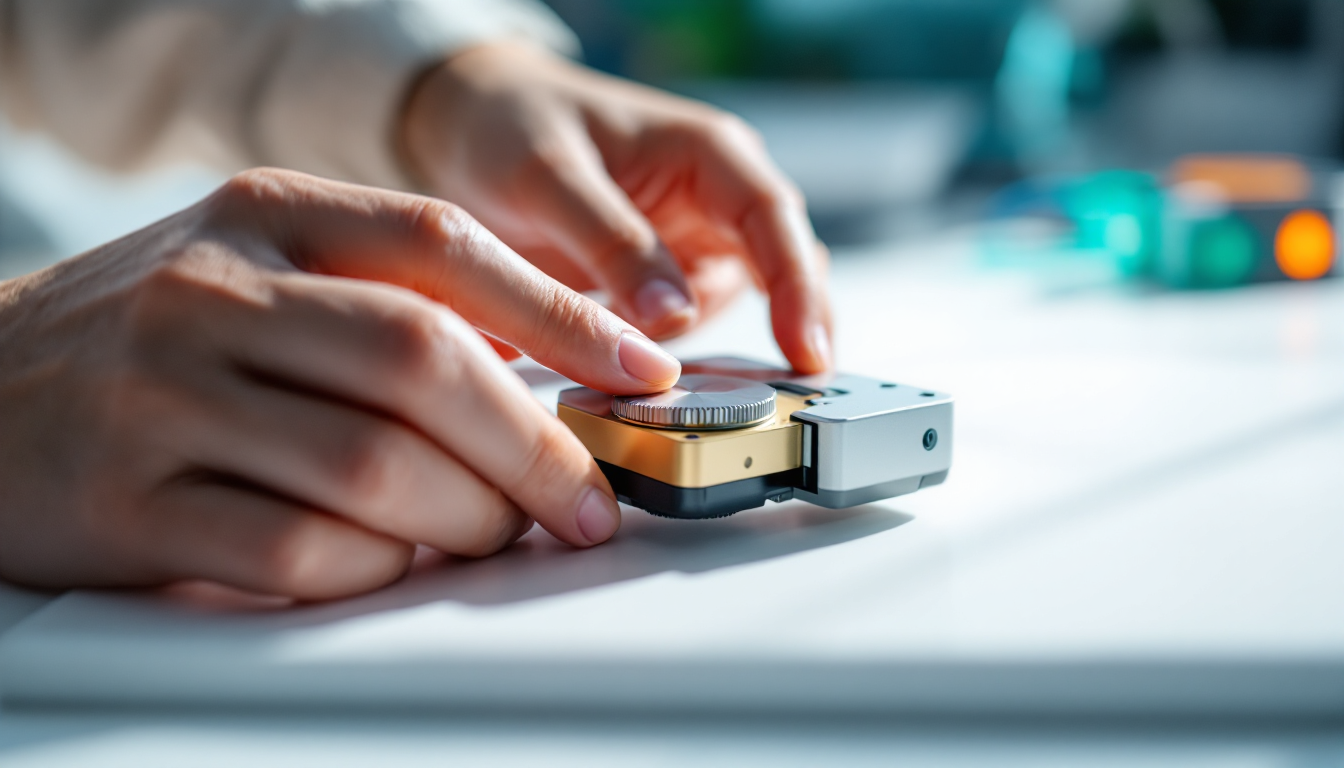
Performing the Firmware Update Correctly
Before you start experimenting with multicolor printing, the MMU3 firmware needs to be right. When updating from version 1.0.6 to 3.0.0 or higher, there’s a critical setting: after flashing, you must go to the LCD menu under Settings - MMU and set it to ON. Without this step, the MMU3 will remain silent.
The flashing itself is done via PrusaSlicer, even when installing MMU firmware. You’ll need a MicroUSB cable directly to the MMU control board — the printer must be turned on during this. The firmware file is always named prusa3d_fw_MMU3board_x_x_x_, where the x stands for the version number. Just don’t confuse it with the MK3S firmware from the same folder.
After the update, a self-check is mandatory: Settings - Self-check, then check Input Shaping and Auto Bed Leveling and let it run. Without this calibration, the MMU3 won’t work optimally.
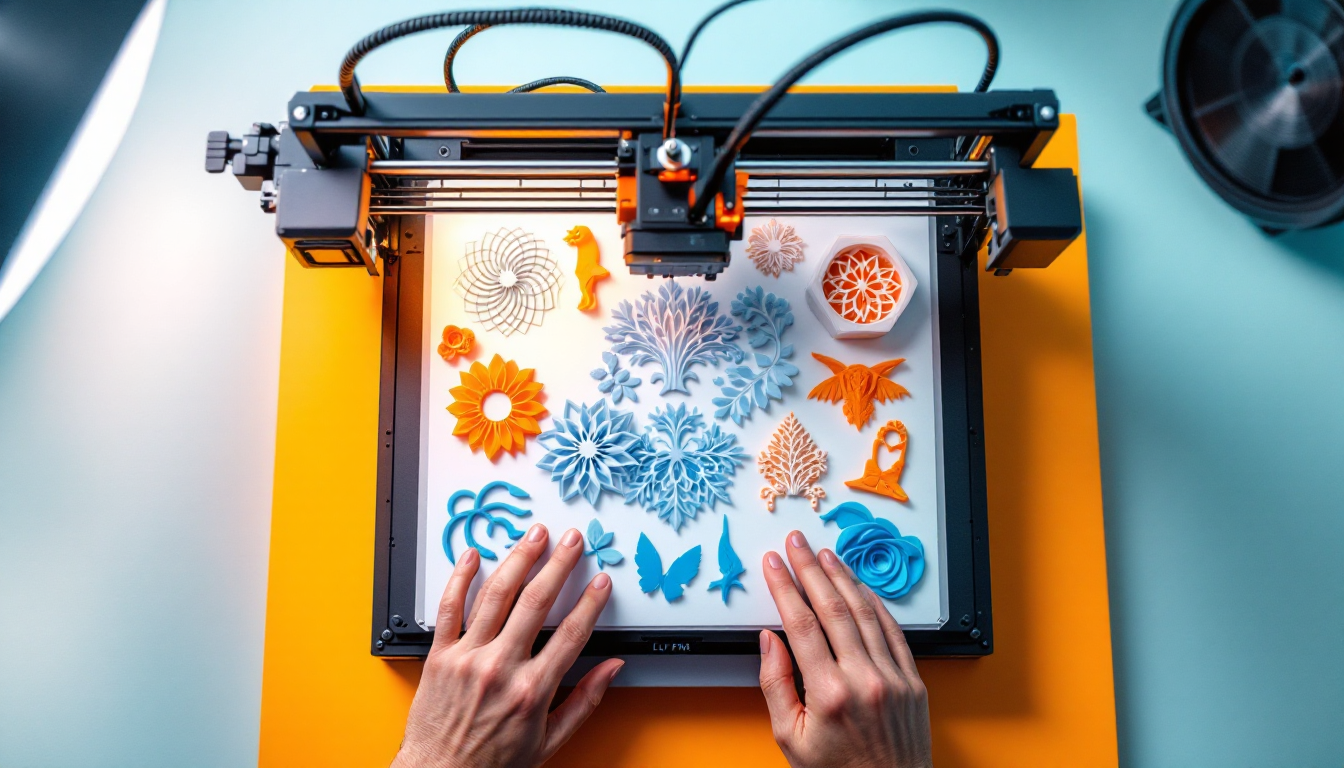
The Sacrificial Tower Trick
The most elegant solution for clean color changes is a sacrificial tower. You place a simple cylinder with a 5mm diameter next to your main object. The height should match the layer of your last color change. The trick is: you need to choose the position so that PrusaSlicer prints the sacrificial tower last in each layer.
You can check this after slicing in the preview. Use the vertical scrollbar to select the layer before the color change, then check the print order with the "Tool position" under the preview. If the sacrificial tower comes last, the print head will go there after the color change instead of to your main object — problem solved.
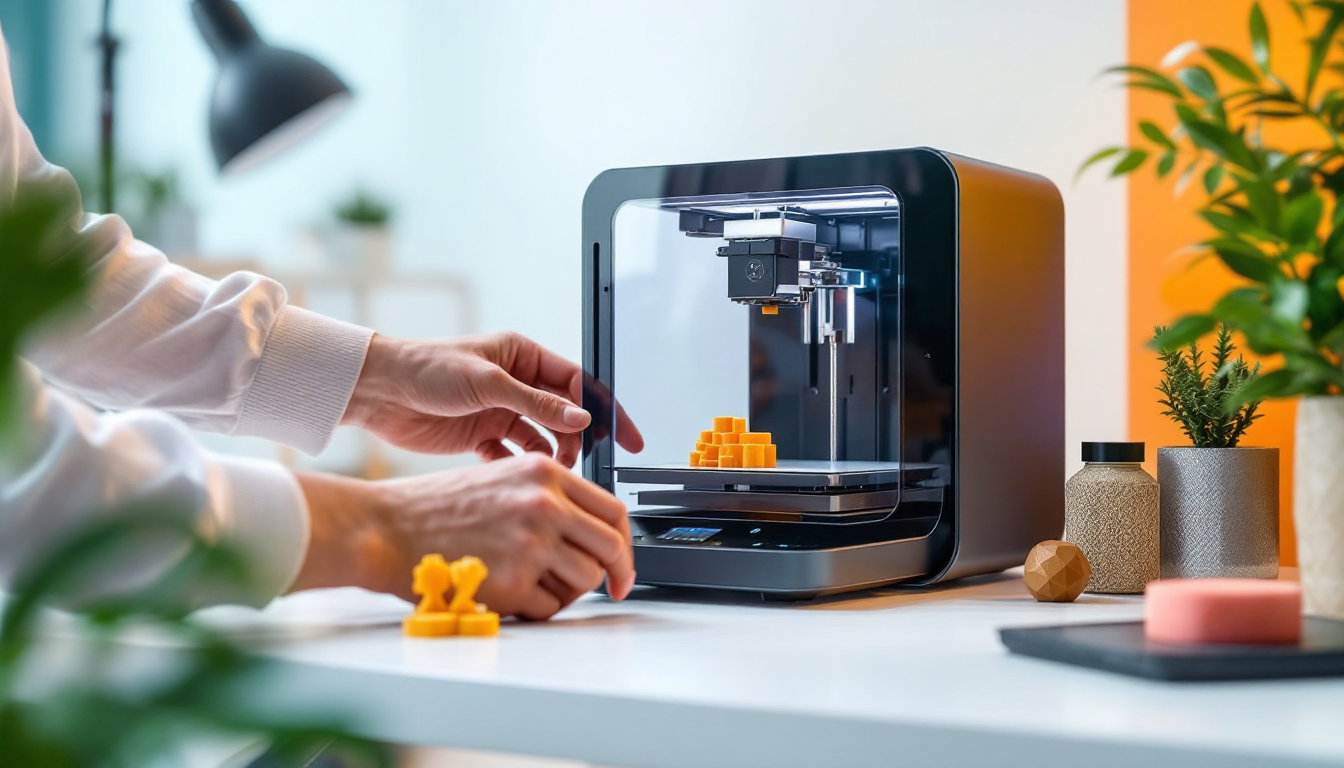
Material Compatibility and Adhesion
Never mix different material types during color changes. PLA with PLA, PETG with PETG, ABS with ABS — that’s a hard rule. The layers must be chemically compatible; otherwise, your print will come apart at the color change layers. At critical connection points, you can temporarily increase the nozzle temperature for one layer by 5-10°C to achieve better adhesion.
The automatic color change detection in PrusaSlicer works reliably only with logo or shield-like models. For more complex geometries, you’ll need to set the color changes manually. The layer preview with the orange plus symbol helps with this — right-click even gives you a color selection for better visualization.
Timing and Beeper Management
PrusaSlicer shows you estimated times for each color change. This is invaluable for planning, but don’t rely on it blindly. Complex geometries or support material can significantly shift the times. If a color change is scheduled for the night, set the beeper to "Quiet," "Silent," or "Once" — you can find this under Settings - User Interface.
Sequential Printing is a No-Go
One important limitation: color changes do not work with sequential printing. This is due to how the G-code is generated — the M600 commands would end up in the wrong places. If you need multiple objects in different colors, you’ll have to print them individually or stick to normal batch printing.
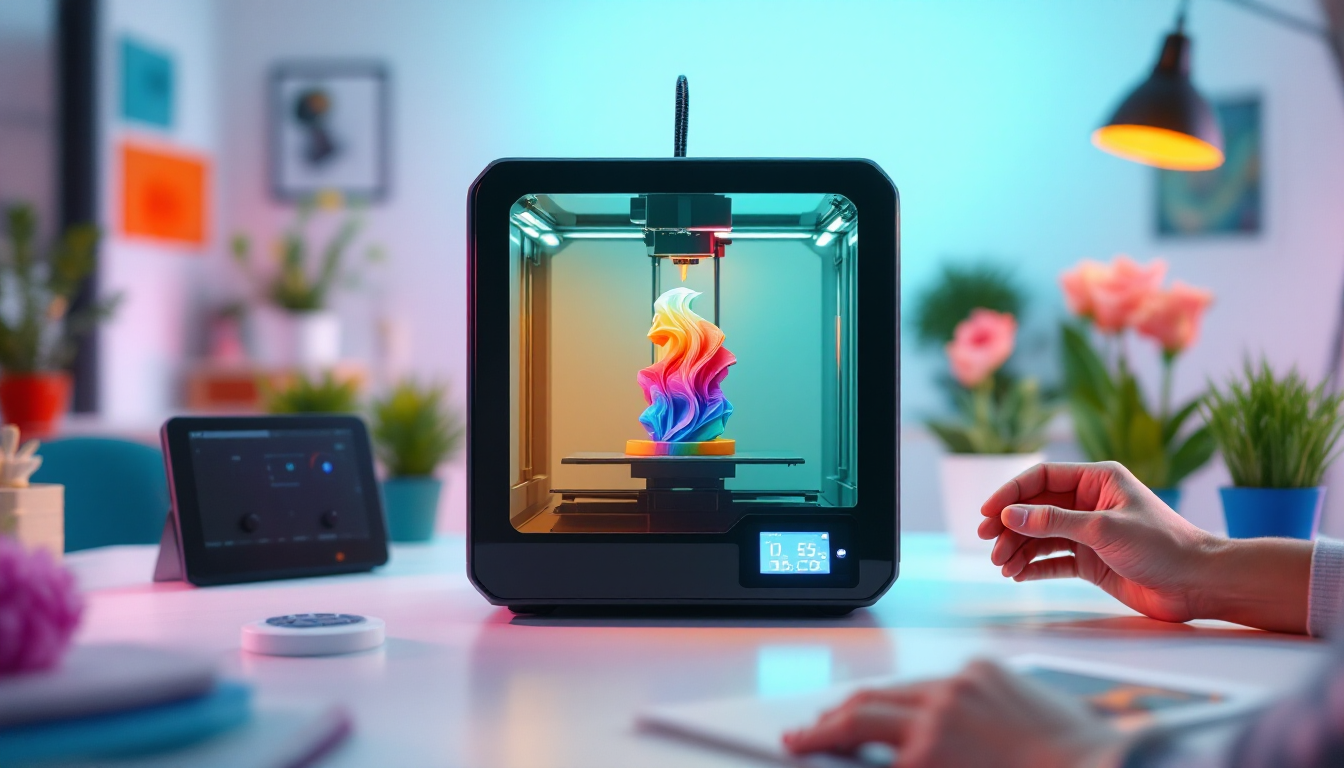
Advanced Optimizations
The new Expert Mode in Firmware 3.0.0 allows adjustments during printing. You can live-correct the flow rate and Z-offset — handy if you notice that the first color is being applied too thin or too thick. The PID calibration of the nozzle now also runs through this menu.
For materials with glitter effects like the Panchroma Starlight PLA (190-230°C, up to 200mm/s print speed), you shouldn’t go below a 0.4mm nozzle diameter. The fine powder won’t clog smaller nozzles, but the shimmer effect shows up better. Retraction stays at 1-3mm with 20-40mm/s — standard PLA values.