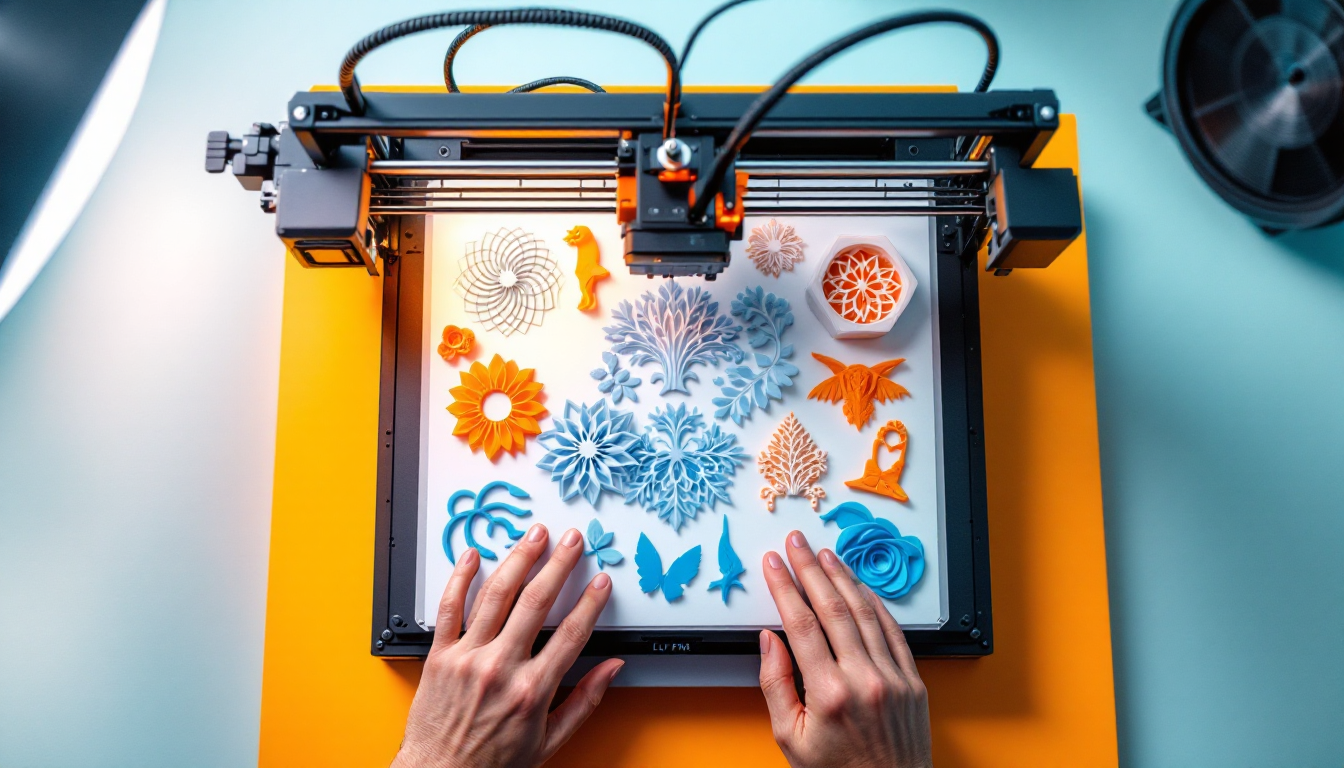
Hey folks. When you first dive into resin printing, everyone starts talking about resolution, 8K displays, anti-aliasing, and exposure times. But let's be honest: the real battle begins when the build plate lifts. Post-processing is the crucial point that separates a mediocre print from a true masterpiece. If you slack off here, you'll end up with sticky surfaces, fine cracks after three weeks, or lose tiny details under a layer of dried resin sludge.
That's why today we're taking a look at how the community really tackles post-processing – far from glossy marketing promises.
The Path to the Perfect Finish: From Pickle Jar to UV Curing Station
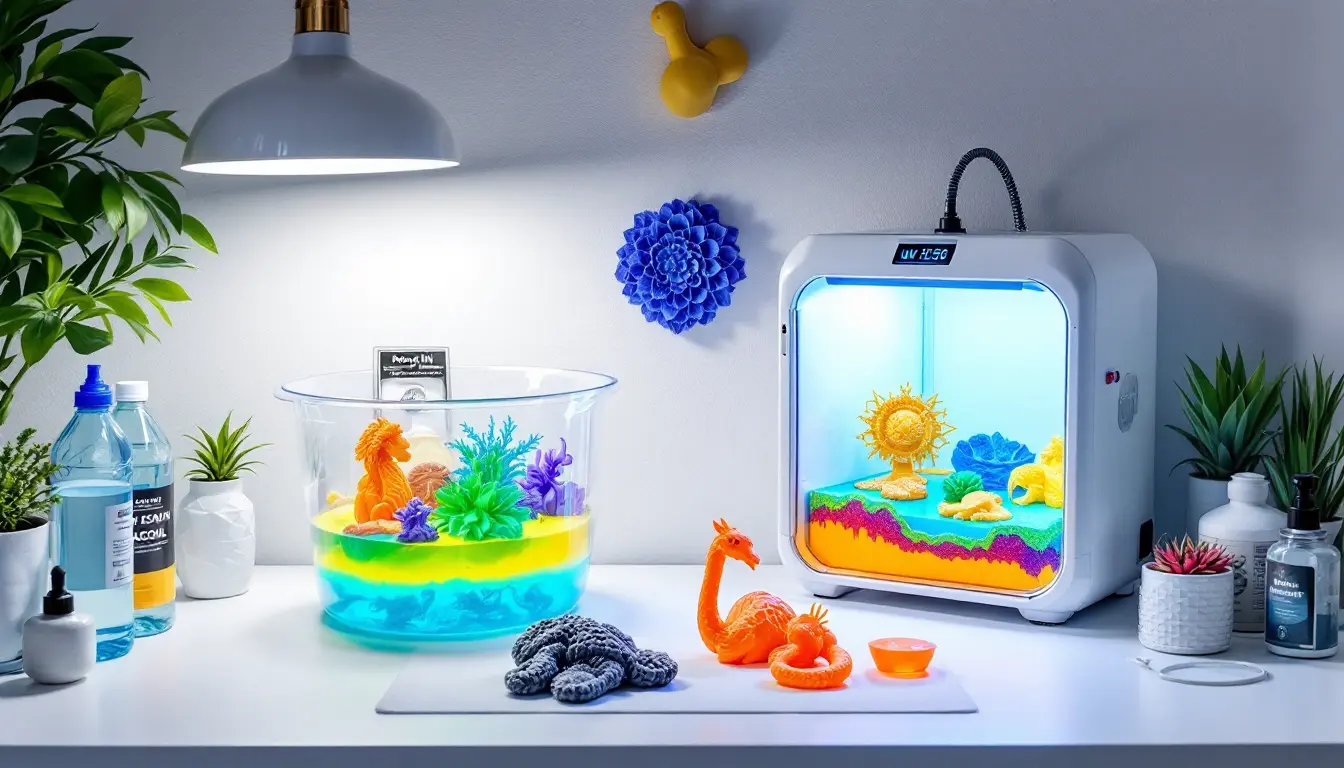
Not everyone wants or can afford to buy an expensive, ready-made wash and cure machine right away. Luckily, the maker scene is incredibly resourceful. The absolute classic among DIY solutions for a budget: a simple pickle jar (the one with the handy strainer insert!) from the supermarket for the isopropanol bath, paired with a cheap magnetic stirrer from lab supplies. Just like that, you've got a perfect wash station.
For the subsequent curing, a clean paint bucket, completely lined with aluminum foil, often suffices at first. Stick a roll of 405nm UV LED strip in a spiral and place a small, solar-powered turntable from your display decor at the bottom. All of this costs less than 30 euros and cures your models absolutely evenly.
The Right Material Makes Post-Processing Easier
However, the best wash station is useless if the material for your application isn't up to scratch. Classic standard resins are often extremely brittle. If the finished miniature falls off the table, it shatters like glass. That's why the community is increasingly turning to functional resins.
If you're printing parts that need to withstand some stress (like mechanical functional parts or tabletop figures that are often handled), check out robust blends. A very solid example from practice is the <a href="https://www.awin1.com/cread.php?awinmid=69360&awinaffid=1939445&ued=https%3A%2F%2Fstore.anycubic.com%2Fproducts%2Fuv-tough-resin" rel="nofollow noopener sponsored" target="_blank" class="inline-product-link">UV Tough Resin - White / 1KG / Other</a>. These ABS-like or Tough resins have minimal residual flexibility after curing. This not only makes the final product significantly more stable against impacts, but also makes post-processing before curing much easier: the supports can often be peeled off like Velcro without leaving ugly craters in the model.
Myth Check: Dish Soap in the Wash Tank?
There's still the tip about dish soap circulating in many forums. Let's clarify that technically: If you're using standard or tough resin, regular dish soap in a water bath does absolutely nothing for you. Normal resin is not water-soluble! You absolutely need high-percentage IPA (isopropanol) or bioethanol to wash the sticky residues out of the details.
A splash of all-purpose cleaner (like Simple Green) combined with water in an ultrasonic cleaner is a brilliant hack – but it only works if you're specifically using water-washable resin. With all other resin types, it just creates a greasy disaster in the tank that completely glues your details together.
Calibration is King
In general, the rule in SLA/DLP printing is: test, test, test. Every resin behaves slightly differently in the printer and afterwards. Especially with the tougher, more resilient types like the <a href="https://www.awin1.com/cread.php?awinmid=69360&awinaffid=1939445&ued=https%3A%2F%2Fstore.anycubic.com%2Fproducts%2Fuv-tough-resin" rel="nofollow noopener sponsored" target="_blank" class="inline-product-link">UV Tough Resin - White / 1KG</a>, you often need to slightly increase your exposure times in the slicer, as these resins require a bit more UV energy to cure properly. That's completely normal. Just print yourself a "Cones of Calibration" or a flat exposure test (like the Validation Matrix) before you waste half a liter on a massive failed print.
Exchanging ideas in forums, Discord servers, and at local maker meetups is truly invaluable. Share your slicer profiles, discuss your failed prints, and share your wash setups – that's the only way we can all progress and save ourselves from frustrating failed prints.